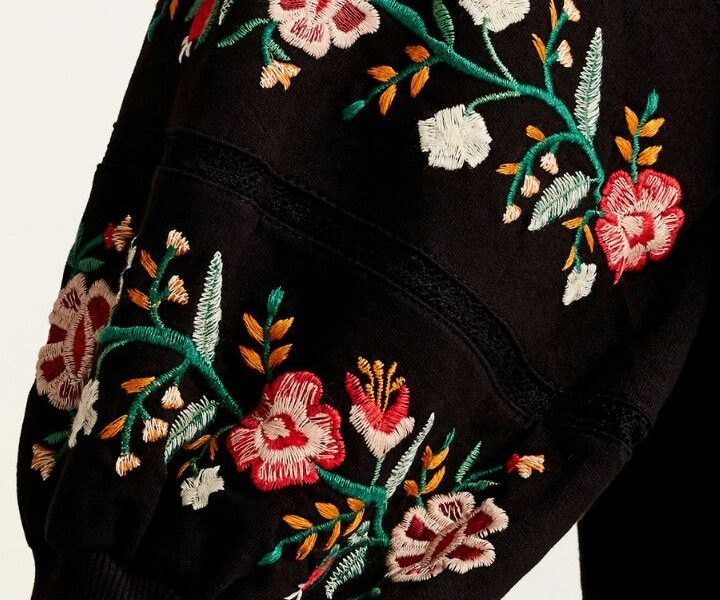
Hello, craft enthusiasts! Velvet fabric has an alluring appearance with its luxurious texture and beautiful shine. And what better way to elevate its beauty than by introducing eye-catching embroidered patches? Whether you want to personalize a jacket, bag, or even a pair of velvet shoes, attaching embroidered badges is the way to go. And for that, you must know about its creation and method to adhere them to velvet material. So, are you ready to get on an exciting journey into embroidered patches? So get your hands on a needle and thread, and let’s get started!
8 Easy Steps To Craft Eye-Catchy Embroidered Patches
This step-by-step guide walks you through all the information required to create eye-catching embroidery badges.
- Gather Supplies For Crafting
Before diving into the beautiful world of embroidery, gather the following supplies: velvet fabric, a water-soluble fabric marker, and a design template. Also, get your hands on the hoop, floss, needles, and scissors suitable for custom embroidered patches. Besides, you can find design templates online or create your own. If your budget allows, you can hire a professional designer to create an excellent design.
- Trace Your Design
Place your fabric on a flat surface and keep the design template on top. Use the embroidery hoop to keep the material and template secured together. Carefully trace your design onto the fabric using a water-soluble fabric marker. Take your time and make sure that the lines are clear and precise.
- Thread The Needle
Select an embroidery floss colour that complements your design. Thread your needle with a single strand and tie a knot at the end of it. It will keep the stitches intact.
- Start Stitching
Now comes the fun part! Start stitching your design using by following the traced lines. The easy-peasy stitches used in this process are the backstitch, running stitch, and satin stitch. You can experiment with various types to introduce texture to your patch. Keep your balanced and consistent for a polished appearance.
- Fill In The Colors
Once you’ve outlined your design, it’s time to add some colour. Pick embroidery floss of your desired hues and use the satin stitch procedure to fill in the areas of your art. Take your time and work patiently, ensuring the stitches are close together and cover the entire design.
- Add Some Details And Accents
Add some extra details and accents to make your embroidered patch genuinely unique. You can include additional stitching, French knots, or even beads for a touch of sparkle to your badges. The key is to let your creative mind shine!
- Trim Unnecessary Material From Fabric
Once you complete the above step, carefully remove the fabric from the embroidery hoop. Trim the unnecessary material around the edges and ensure you don’t cut any of your stitches!
- Apply Adhesive Solution
To make your badge effortlessly attachable to various stuff, apply a heat-activated adhesive to its backing. You can buy adhesive sheets specially designed from an art-and-craft store. Cut the adhesive sheet to match the size of your badge, and remove the paper from one side to attach to an emblem. Congratulations, you’ve successfully created your very own embroidered motif!
8 Useful Steps To Adhere Embroidered Patches To Velvet
Let’s dive deeper into eight practical steps to adhere embroidered patches to your velvet apparel.
- Gather Essentials
To begin the patch-attaching adventure, gather all the necessary items. You’ll need velvet apparel, a needle, matching thread, tailor’s chalk or disappearing ink pen, scissors, and pins. And the most important thing – your created custom patches. Before rolling on this adventure, ensure your badges are clean and free from loose threads.
- Position Your Embroidered Patch
Lay your velvet garment flat on a clean surface and experiment with different placements of embroidery badges. Take your time to find the perfect spot. Once decided, use the tailor’s chalk or a disappearing ink pen to mark the chosen area.
- Secure With Pins
Now that you have your chosen area marked, it’s time to secure them temporarily with pins. This step will prevent the badge from moving while you sew them onto the velvet material. Be careful not to prick yourself or damage the velvet in the process.
- Thread Your Needle
Select a thread that matches the colour of your badge or the velvet fabric. Thread the needle and tie a secure knot at the end. Ensure the strand is long enough to sew around the motif edges comfortably.
- Begin Stitching
Begin stitching by inserting the needle through the backside of the velvet, coming up through one edge of the motif. Start the process with tiny stitches along the patch’s border to secure it to the velvet. Keep sewing close together for a neat and secure attachment. Continue until you’ve sewn around the entire badge.
- Knot The Thread
Once you complete stitching, loop the thread through the last stitch and pull it gently. It will create a small loop. Pass the needle through the loop and pull it tight to form a decent knot. Repeat this process once or twice to secure the thread.
- Concealing The Thread
It’s essential to hide the thread to offer a professional look to your motif. Carefully insert the needle through the backside of the velvet, emerging a short distance from the motif. Cut the strand as close to the fabric as possible to keep the loose end hidden. Following this step will help you develop a polished adherence to the emblem.
- Final Touches
It is time to give the final touches to your embroidered patch and ensure it is securely attached. Remove any remaining pins and gently press the velvet, using a low-heat iron, to remove any wrinkles caused by the stitching. And there you go! Your personalized garment is ready to make you look dazzling.
Closure
So there, you have eight easy steps to create embroidered patches and adhere them to velvet apparel. From tracing your design to giving the final touches, each stage is an opportunity to express creativity. So pick up that needle and thread, and begin your creative and colourful journey. Happy stitching!

